Vinyl Fence Installation Calgary
Calgary Vinyl Fence Installation is a home improvement endeavor that offers both aesthetic appeal and practical benefits. With its reputation for durability and longevity, vinyl fencing is an attractive alternative to wood or metal fences.
Given that Calgary vinyl fencing requires minimal maintenance and doesn’t succumb to rusting, rotting, or painting, it’s an excellent choice for homeowners who value both appearance and ease of upkeep.
Upon deciding to install a vinyl fence in Calgary, careful planning is vital to ensure successful execution. This involves understanding the various styles and specifications of vinyl fencing available, as well as preparing the site where the fence will be installed.
Attention to detail during the installation process is crucial to achieve a sturdy and elegant outcome, while following the provided guidelines will facilitate a project that enhances the property’s privacy and security for years to come.

Key Takeaways
- Calgary Vinyl fencing is a durable and low-maintenance option for homeowners.
- Proper planning and understanding of specifications are critical for successful installation.
- Detailed attention during installation leads to a lasting and aesthetically pleasing fence.
Understanding Vinyl Fencing
Before exploring the various aspects of vinyl fencing, it’s vital for us to recognize its standing as a durable and flexible choice for residential and commercial property boundaries.
Types of Vinyl Fences
- Picket Fence: Typically used for decorative purposes, these fences are characterized by evenly spaced vertical boards, or pickets, with a gap between them.
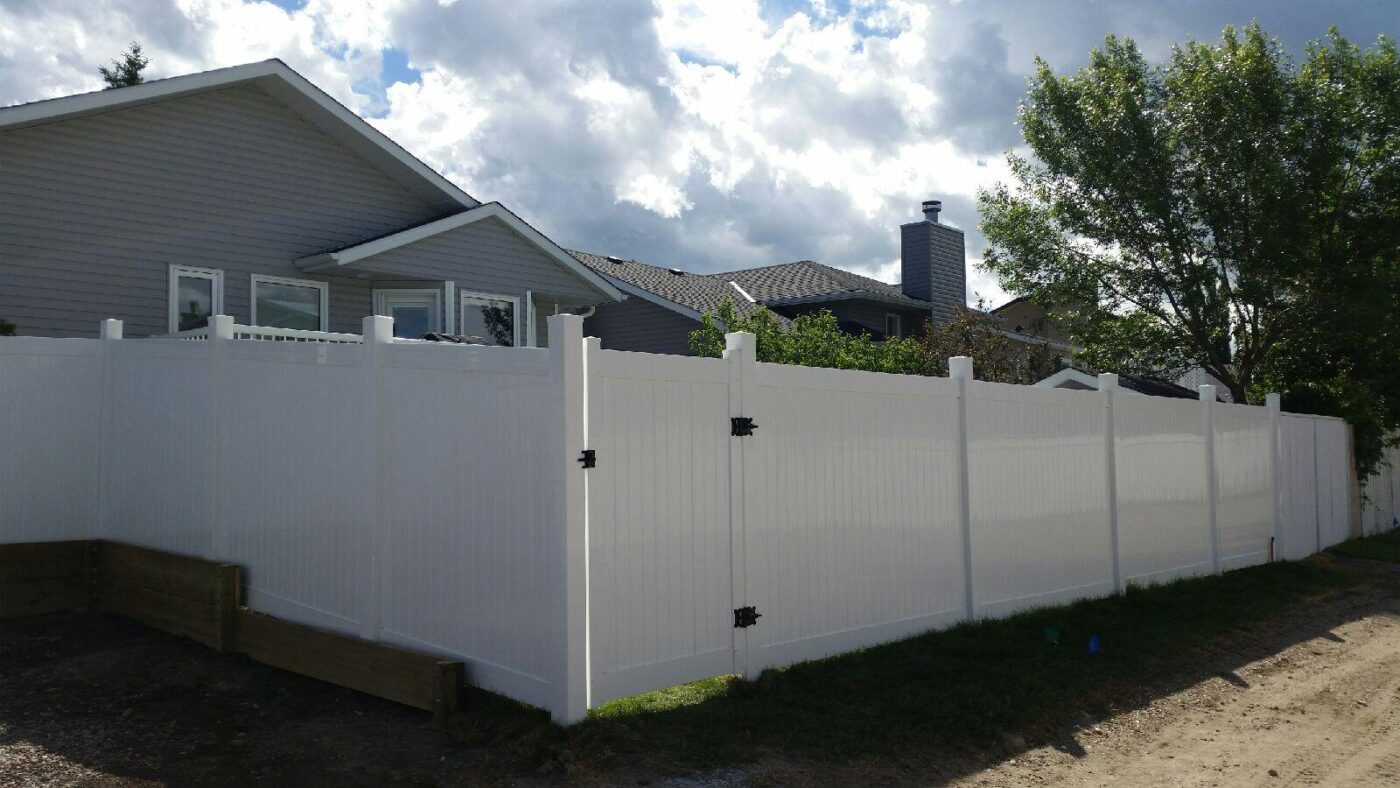
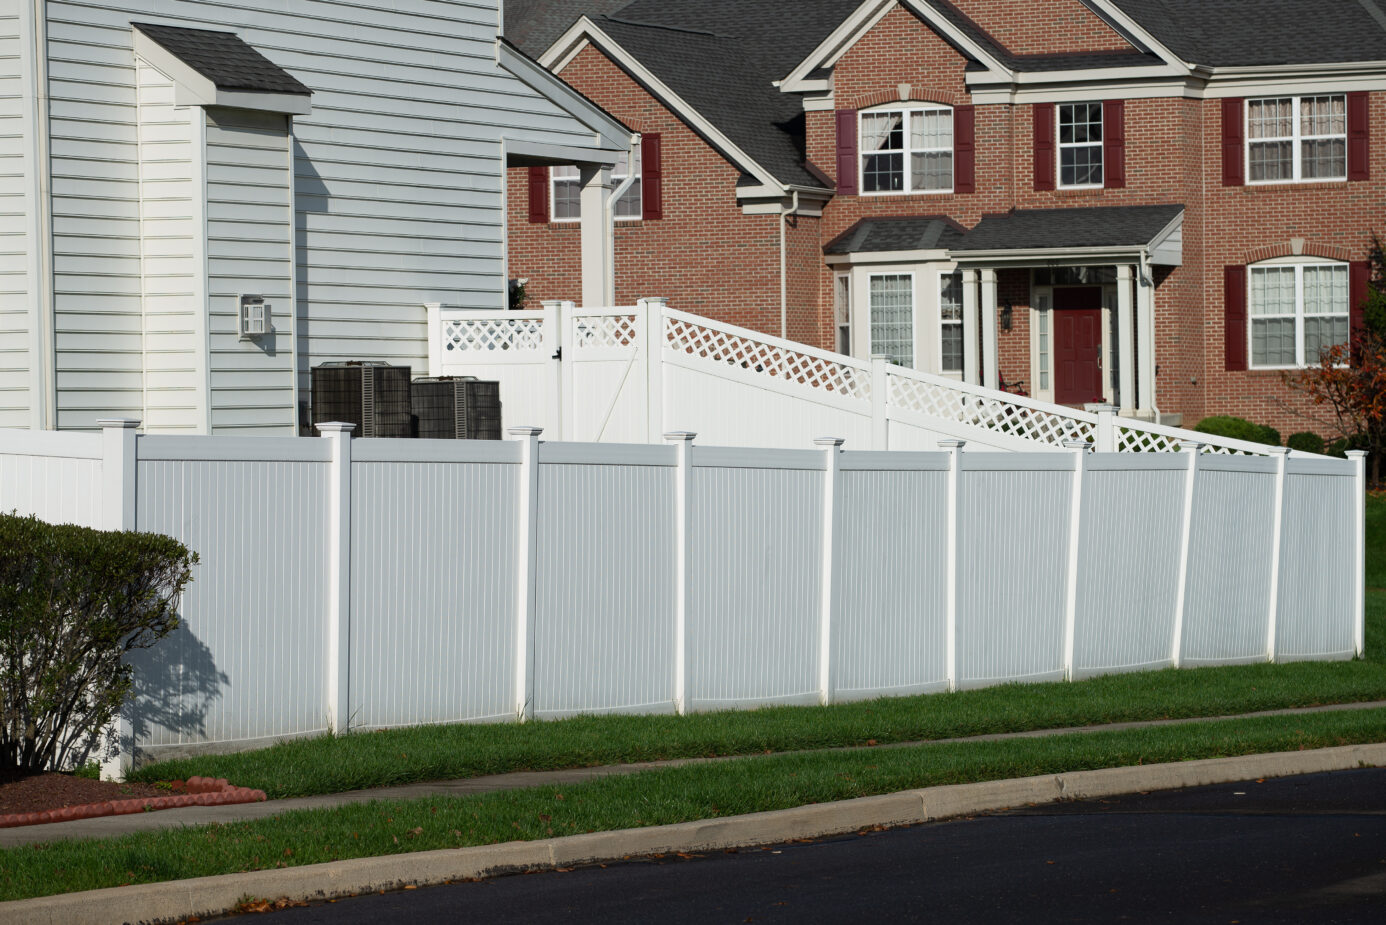
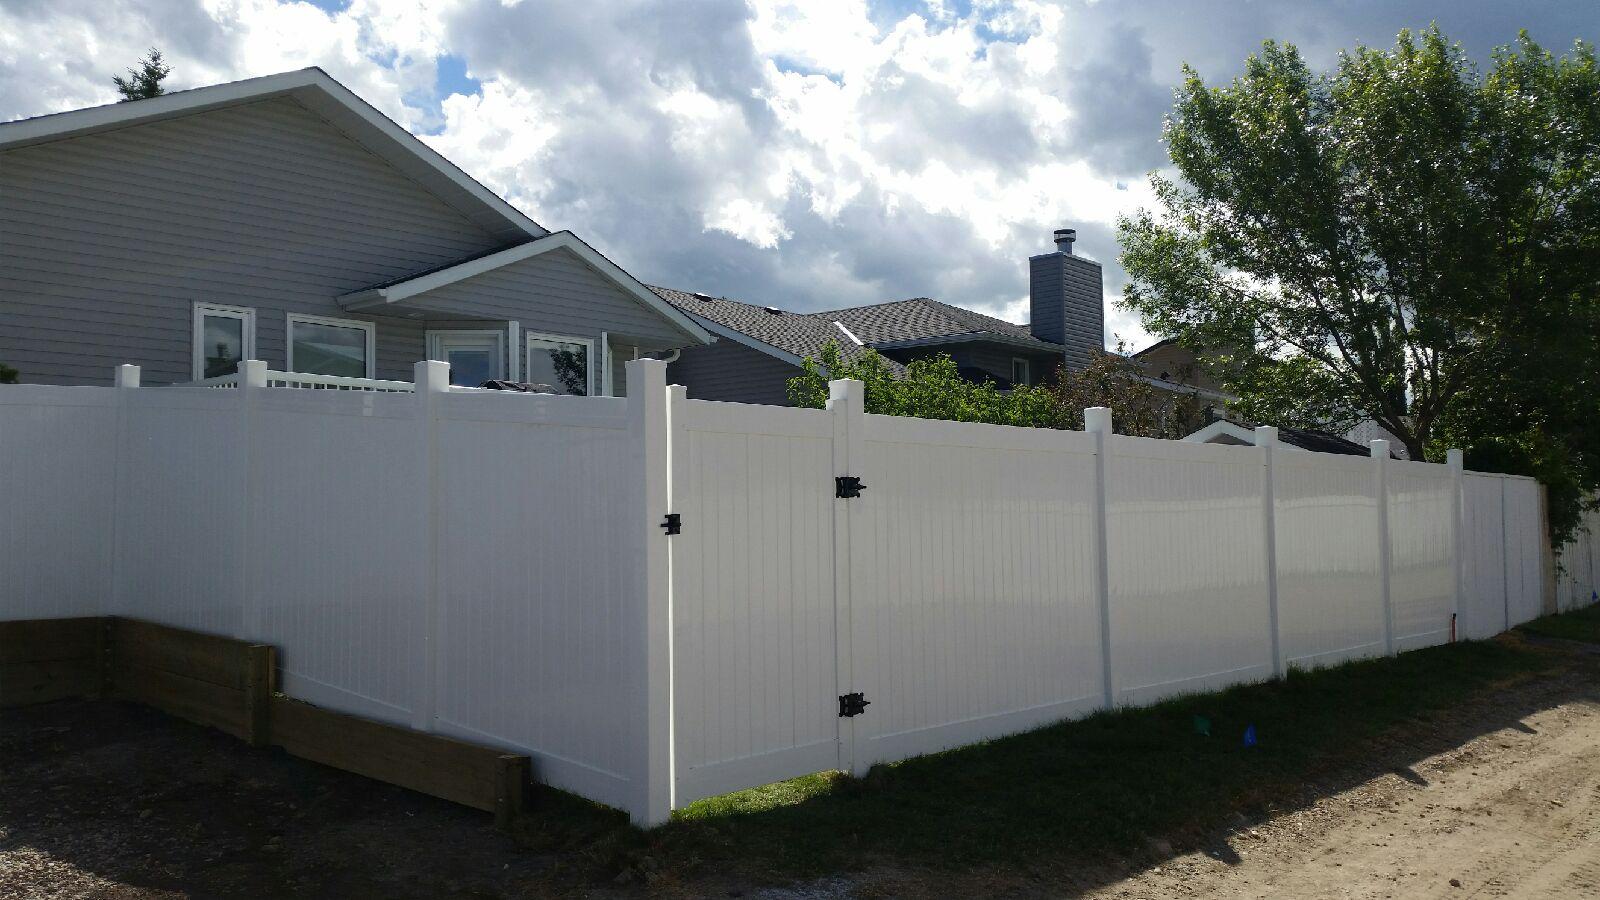
- Privacy Fence: Designed to obstruct view, privacy fences feature tall panels with no gaps between them, ensuring a private enclosure.
- Semi-Privacy Fence: While similar to privacy fences, semi-privacy options have slight spacing between the panels, offering a balance between privacy and airflow.
- Ranch Rail Fence: Commonly seen in rural and suburban areas, this style includes horizontal rails that run between posts, giving a spacious, open look.
- Ornamental Fence: This type doesn’t necessarily refer to a specific structure but can include various decorative designs that add aesthetic appeal to the property.

Material Benefits
Calgary Vinyl fencing presents a multitude of advantages that make it a preferred material:
- Durability: Vinyl is known for its strength and longevity, resisting common problems such as rotting, rusting, or termite damage.
- Maintenance: It requires minimal upkeep, often needing only a quick wash to retain its appearance.
- Flexibility: Our vinyl fences endure harsh weather conditions better than traditional fencing materials, reducing risks of cracking or breaking.
Color Variants
Vinyl fence installation in Calgary come mainly in two standard colors:
- White: The classic white vinyl fence is a common sight due to its clean and timeless look that matches different landscapes.
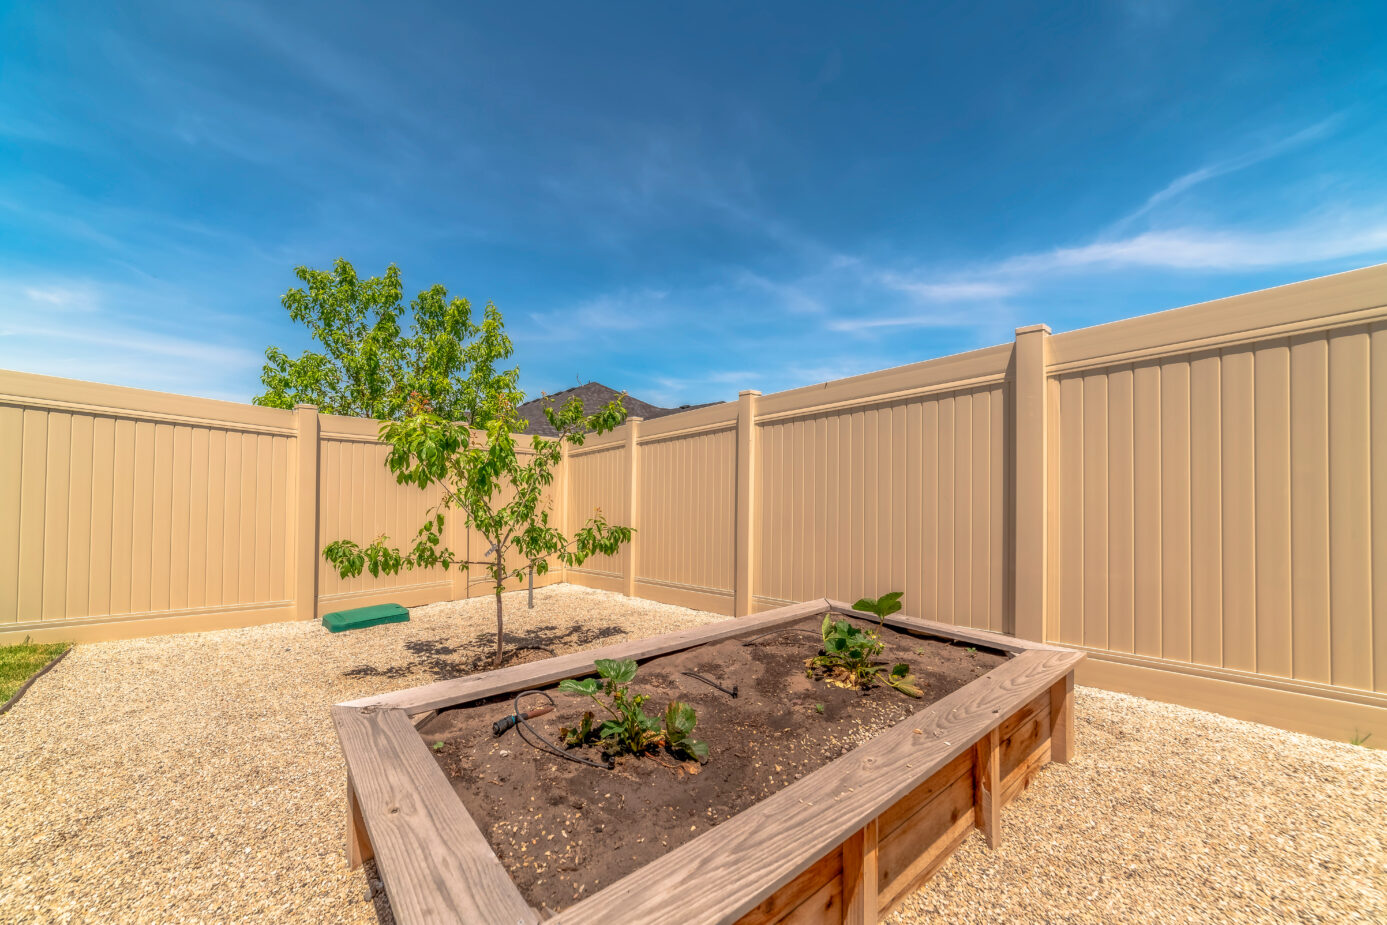
- Tan: For those seeking a warmer and more varied color scheme, tan is an attractive alternative that complements various design aesthetics.
These colors are intrinsic to the material, ensuring that the fence will not require painting and will exhibit consistent coloring throughout its lifespan.
Property Line Determination
Determining the exact location of our property lines is crucial. We can use a plat map, hire a surveyor, or check existing property markers to ensure our fence is built on our property.
Setting our vinyl fence within our property boundaries prevents future disputes with neighbors.
Fence Layout and Measurements
Accurate layout and measurements are vital for a successful installation.
We use string lines and stakes to outline the fence path and ensure straight lines.
For the posts, we dig holes as recommended by the Calgary vinyl fence installation guide, which is typically at intervals consistent with the fence panel length.
By following these guidelines, we ensure that all posts are properly spaced and aligned.

Calgary Vinyl fence Installation Process
In installing a vinyl fence, precision and thoroughness are critical for a stable and visually appealing outcome. We adhere strictly to the guidelines throughout each step to ensure structural integrity and a seamless appearance.
Finishing Touches
After our meticulous installation, it’s crucial that we perform the final steps to ensure the integrity and appearance of our newly installed vinyl fence.
Checking Alignment and Adjustments
To maintain uniformity, we carefully check the alignment of each fence panel.
Using a level, we ensure that they are perfectly horizontal and make any necessary adjustments.
Spacing is also crucial; we verify that the distance between panels remains consistent along the fence line.
If we notice any discrepancies, we promptly correct them to prevent future complications.
Cleanup and Landscaping
Our installation process is not complete without addressing the surrounding area.
We tidy up any debris from the installation, ensuring the site is clean.
For landscaping, we replace sod or re-establish garden beds to enhance the fence’s setting.
Where applicable, we install capping on the fence posts for a polished look and added protection.
Final Inspection
We conduct a thorough final inspection, where we scrutinize every detail from top to bottom.
Our fence should be maintenance-free, but we verify that there are no loose parts or sharp edges.
We confirm that gates operate smoothly, and there are no visible gaps or imperfections.
The result is a clean, secure, and beautiful boundary that will stand the test of time.
Maintenance and Care
As experts, we understand that Calgary vinyl fences are popular for their low maintenance, but they do require some cleaning and upkeep to ensure their longevity. Let’s break down the best practices to maintain your vinyl fence properly.
Routine Cleaning
To keep our vinyl fencing in top condition, we routinely clean it to prevent buildup of dirt and stains. Here are the steps we follow:
- Rinse: Use a garden hose to remove loose debris.
- Clean: Apply a mild soap solution with a soft cloth or sponge to avoid scratches.
- Brush: For stubborn stains, we might use a soft-bristle brush.
- Rinse Again: We ensure all cleaning agents are thoroughly washed off to prevent residue.
Damage Repair
In case of damage, we act promptly to maintain the integrity of the fencing:
- Identify the extent of damage; small cracks or holes can often be repaired with PVC fence glue or a vinyl repair kit.
- For larger sections, we might replace the affected panel or post by consulting the manufacturer’s guidelines.
Long-Term Maintenance
To enhance the durability of our vinyl fencing in Calgary, we follow a few key steps:
- Inspection: Annual inspections help spot potential issues early.
- Preventative Measures: We ensure landscaping tools or chemicals do not come in direct contact with the fence, as these can cause discoloration or damage.
- Climate Considerations: We’re aware that extreme temperatures can affect vinyl, so we monitor for any warping or expansion that may require attention.

Additional Considerations
Prior to embarking on a vinyl fence installation Calgary project, we need to consider the customization options, safety measures, and whether to undertake the task ourselves or enlist professional help. These factors significantly influence the process and outcome of our fencing endeavors.
Customization and Accessories
Customizing a vinyl fence allows us to tailor its appearance and functionality to meet our specific needs.
When we select u-channels and metal inserts, we provide additional support and seamless aesthetics to our privacy or ornamental fences.
It’s essential to decide on gate locations early in the planning stage to ensure a functional design.
Accessories such as caps and glue are not only vital for the stability of our fence but can also add a decorative touch.
Conclusion
In our guide, we’ve provided clear and precise steps to ensure that you can install a vinyl fence with confidence. Adhering to local regulations and following manufacturer instructions are critical components of the process.
- Check your local building codes for any specific requirements.
- Plan your layout carefully, including measurements and post locations.
- Prepare materials and tools before starting the installation process.
- Maintain consistent level and alignment for a professional appearance.
Should you encounter varying environmental conditions, allow for proper setting time for your concrete to ensure stability. As with any DIY project, take your time and ensure each step is completed thoroughly.
For any unforeseen issues or technical questions, do not hesitate to consult an expert or reach out to the manufacturer. Their support can be invaluable in getting your project to successful completion.
Our recommendations are meant to guide you in installing a fence that not only serves its intended purpose but also enhances the aesthetic appeal of your property. We take pride in helping homeowners like you take on projects that improve your living space.

